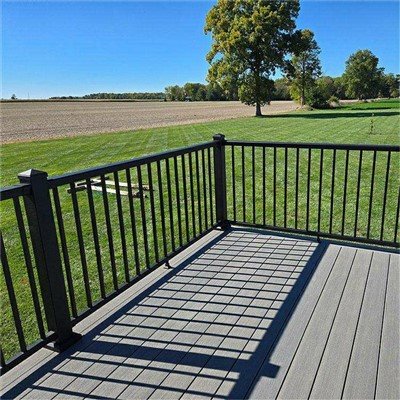
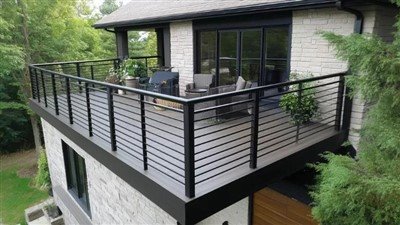
Hey there! I'm super excited to share with you all the ins and outs of installing aluminum picket railing on a plastic surface. As an Aluminum Picket Railing supplier, I've seen firsthand how a well - installed railing can transform a space. Whether it's for your deck, balcony, or patio, this guide will walk you through each step.
Before You Start
First things first, you've got to gather all your materials. You'll need your aluminum picket railing of course, which you can find at our site Aluminum Picket Railing. Besides that, you'll need screws, a drill, a measuring tape, a level, and a pencil. Make sure the plastic surface is clean and free of any debris. Dirt or dust can mess up the installation and reduce the railing's stability.
Measuring and Planning
Grab your measuring tape and start measuring the area where you're going to install the railing. Measure the length of the plastic surface and mark the spots where the posts will go. You want to space the posts evenly; usually every 4 to 6 feet is a good rule of thumb. Use your level to ensure the markings are straight and your railing will be as well.
Preparing the Plastic Surface
Now, you need to prepare the plastic surface for the railing installation. Drill pilot holes at the marked spots. The size of the holes should match the size of the screws you're using. Drilling pilot holes makes it easier to screw in the posts and reduces the risk of cracking the plastic.
Installing the Posts
Take your first post and line it up with the pilot hole. Use a screw to attach it to the plastic surface. Make sure it's level and firmly in place. Repeat this process for all the posts. After all the posts are installed, double - check that they're still level and straight. If one post is off, it can throw off the entire look of the railing.

Attaching the Rails
Once the posts are in place, it's time to attach the rails. Start with the bottom rail. Line it up with the posts and use screws to secure it. Make sure the rail fits snugly between the posts. Then, do the same for the top rail. You want to keep a consistent distance between the top and bottom rails.
Adding the Pickets
Now comes the fun part - adding the pickets! Slide each picket into the gaps between the top and bottom rails. You can use a small amount of adhesive if you want to give the pickets an extra bit of stability. Make sure the pickets are evenly spaced. You can use a spacer to help with this.
Finishing Touches
After all the pickets are in place, check for any loose screws or parts. Tighten them up if needed. You can also add some decorative caps to the posts to give your railing a more polished look.
Why Aluminum Picket Railing?
Aluminum picket railing has a bunch of advantages. It's lightweight, which makes it easy to install. It's also corrosion - resistant, so it can withstand different weather conditions. Whether it's hot sun, heavy rain, or snow, your aluminum picket railing will stay in good shape for years to come.
Other Railing Options
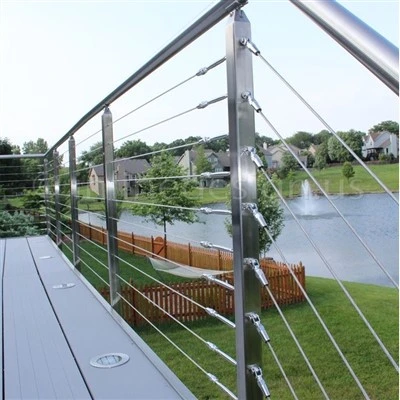
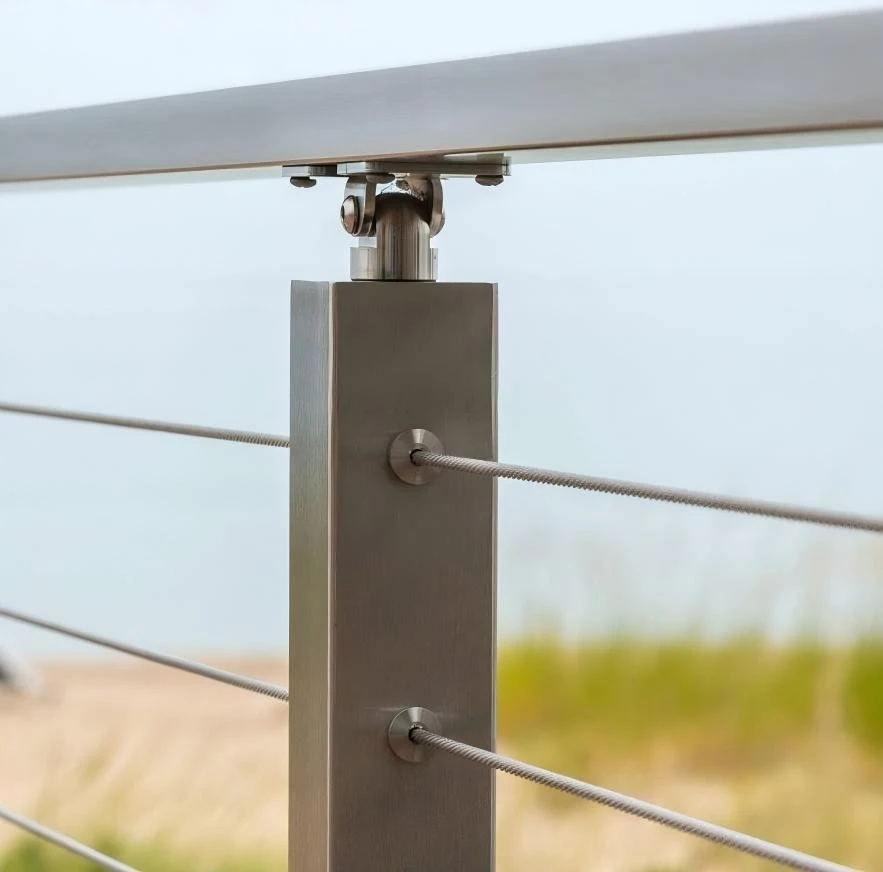
If you're still not sure about aluminum picket railing, we also offer other great options. Check out our Stainless Steel and Glass Balustrade for a modern and sleek look. Or if you have outdoor steps, our Stainless Steel Handrails For Outdoor Steps are a perfect choice. And for decks, don't miss our Stainless Steel Cable Railing Systems For Decks. We also have a wide selection of Stainless Steel Railing Systems that can meet different styles and needs.
Conclusion
Installing aluminum picket railing on a plastic surface is a great DIY project that can add value and style to your home. With a bit of time and the right tools, you can have a beautiful railing in no time. If you're interested in purchasing any of our railing products, we'd love to talk to you. Whether you have questions about installation, pricing, or just want to learn more, feel free to reach out. We're here to help you make the best choice for your space.
References
- "Home Improvement Handbook": A great resource for general DIY projects and installation tips.
- "Outdoor Railing Trends Guide": Provides information on different types of railings and their benefits.