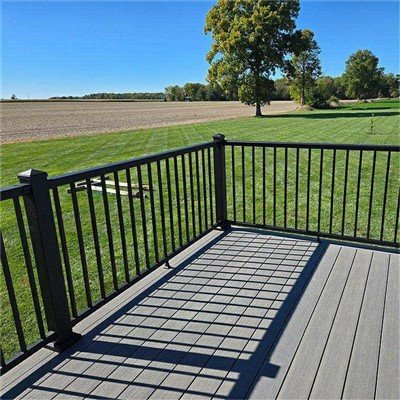
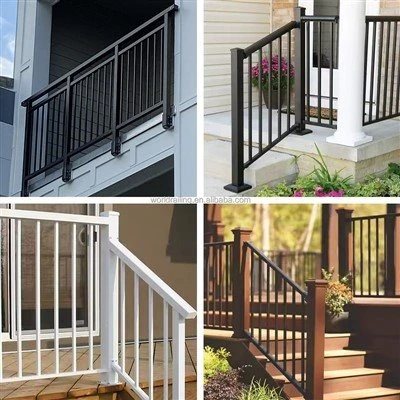
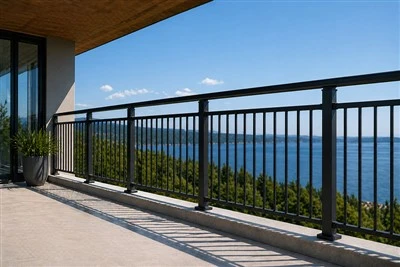
Installing aluminum picket railing on a sloped surface might seem like a daunting task, but with the right know - how and a bit of elbow grease, you can do it like a pro. As an Aluminum Picket Railing supplier, I've seen firsthand how a well - installed railing can transform a sloped area, making it both safe and stylish. So, let's dive into the step - by - step process of getting this job done.
Step 1: Planning and Measuring
First things first, before you even think about ordering materials, you've got to carefully plan out your project. Measure the length and width of the sloped area where you want to install the railing. Pay extra attention to the slope's angle. You can use a clinometer or a simple carpenter's level to determine the pitch accurately.
For a sloped surface, it's crucial to know the starting and ending points of the railing. Mark these points clearly with chalk or a marker. This will give you a clear visual guide and help you calculate how much railing material you'll need. And don't forget to account for any curves or irregularities in the slope. When you're done measuring, head over to our Aluminum Picket Railing page to pick the right style and quantity for your project.
Step 2: Gathering Materials and Tools
Once you've got your measurements, it's time to gather all the necessary materials. Of course, you'll need the aluminum picket railing itself, which comes in various styles and finishes. You'll also need posts, brackets, screws, and a posthole digger if you're installing the railing into the ground.
As for tools, you'll need a drill, a saw (either a handsaw or a power saw depending on your preference), a level, a measuring tape, and a hammer. Having all these tools ready before you start the installation will save you a lot of time and hassle.
Step 3: Preparing the Surface
The sloped surface needs to be in good condition before you start installing the railing. Remove any debris, rocks, or vegetation from the area. If the slope is uneven, you might need to do some minor grading to make it more level. However, if the slope is extremely steep, you might need to consult a professional to ensure the safety and stability of the railing.
Step 4: Installing the Posts
The posts are the foundation of your railing system, so they need to be installed correctly. Start by digging post holes along the marked line. The depth and diameter of the holes will depend on the size of your posts and the local building codes. Usually, a depth of about 24 inches is recommended for stability.
Place the posts in the holes and check them for levelness. Use a level to make sure the posts are plumb both vertically and horizontally. Once the posts are level, fill the holes with concrete. Let the concrete dry completely before proceeding to the next step. This might take a day or two, depending on the weather conditions.
Step 5: Cutting the Rails for the Slope
One of the most challenging parts of installing aluminum picket railing on a sloped surface is cutting the rails to fit. The rails need to follow the angle of the slope smoothly. You can use a miter saw to make the necessary cuts. Measure the angle of the slope again and set the saw to the appropriate angle.
Start by cutting the top rail. Make sure the end of the rail is cut at the same angle as the slope at the starting point. Then, measure and cut the bottom rail in the same way. The pickets will also need to be cut at an angle to fit between the top and bottom rails. This process requires precision, so take your time and double - check your measurements before making each cut.
Step 6: Attaching the Rails and Pickets
Once you've cut the rails and pickets to the right size, it's time to attach them to the posts. Begin by attaching the top rail to the posts using brackets and screws. Make sure the rail is firmly attached and straight. You can use a level to check for straightness.


Next, attach the bottom rail. This might be a bit trickier on a sloped surface, but with patience, you can get it right. Place the bottom rail in position and use brackets and screws to secure it to the posts.
Finally, add the pickets. Space the pickets evenly between the top and bottom rails. You can use a spacing block to ensure consistent spacing. Attach the pickets to the rails using screws or clips, depending on the design of your railing system.
Step 7: Finishing Touches
After all the rails and pickets are installed, you can add some finishing touches. Check all the connections to make sure they're tight and secure. If there are any sharp edges or rough spots on the railing, use a file or sandpaper to smooth them out.
You might also want to consider adding some decorative elements to your railing, such as finials or caps, to give it a more polished look. These can be easily attached to the posts and rails.
Other Railing Options
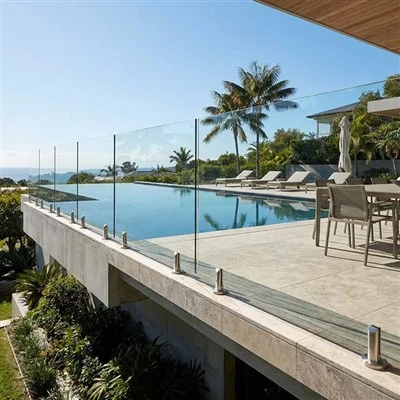
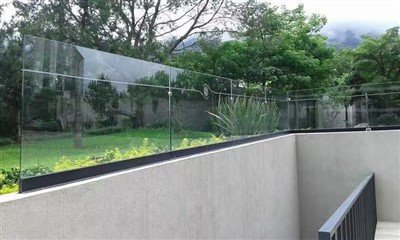
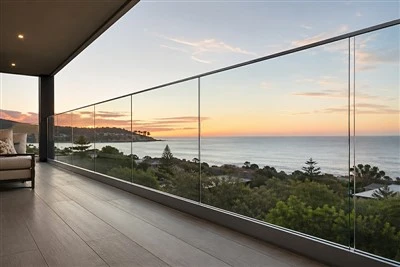
If you're not sure if aluminum picket railing is right for your sloped surface, we also offer other great options. For a more modern and elegant look, check out our Stainless Steel Glass Balustrade. It offers a clear view while providing safety.
The Stainless Steel and Glass Balustrade is another popular choice, combining the strength of stainless steel with the transparency of glass. And if you're looking for railing for a deck on a slope, our Stainless Steel Deck Railing might be the perfect fit. For outdoor steps, we have Stainless Steel Handrails For Outdoor Steps that are both durable and stylish.
Contact Us for Your Railing Needs
Installing aluminum picket railing on a sloped surface might seem challenging, but it's definitely achievable. And if you have any questions along the way or need help deciding on the right railing for your project, don't hesitate to reach out. We're here to assist you in every step of the process and ensure you get the high - quality railing that suits your needs. Whether it's for a residential or commercial project, we've got you covered. So, why wait? Start planning your railing project today!
References
- "Home Improvement Handbook" - A general guide to home installation projects.
- Local Building Codes - For specific regulations on railing installation.